

Do It Yourself Car-Interior Wrapping by removing the trims
Probably the best known and most used method is the removal of the decorative trims and wrapping the removed trims. A professional car wrapper also does it exactly this way.
Equipment needed
- Car vinyl wrap
- Trim wedges or screwdriver
- Scissors and scalpel
- Squeegee
- Hair dryer
Via the following link, you can get an accessory set that includes all the necessary mounting utensils for only 10.90€:
Mounting equipment for foiling and car wrapping
You can get the required wrapping film on our website under Universal tailored vinyl wraps. Here you can have your vinyl wraps cut to your desired size or select pre-made film cuts.
Advantages
- Mostly a very good final result
- Cheap
Disadvantages
- Very time consuming
- Risk of damaging the trim when removing it
- Challenging, prior knowledge helpful
Costs
The costs are very dependent on the selected car vinyl wrap. For example, if you want to wrap your interior in Brushed Aluminum from 3M, then the vinyl wrap (1m x 1.52m) will cost you about 70€ plus shipping costs. In addition, there are costs for the installation equipment, which amount to about 15€. All in all, you'll end up with costs of just under €90, assuming that you already have a hair dryer in your household.
Instructions
1. Removing trims with trim wedges or screwdriver

You should be very careful here, as it is very easy to damage the plastic brackets, making it impossible to attach the trim afterwards.
2. Cleaning the trim

3. Roughly cut the foil to the size of the trim strip

4. Place the trim strip on the adhesive side of the film

5. Paint the foil on the upper side


Here it is important that you always work from the inside out, so that the air under the film can escape.
6. Cut the foil finally

7. Heating the foil with the hair dryer

8. Folding the foil over and painting it completely

9. Reinstalling the wrapped trim

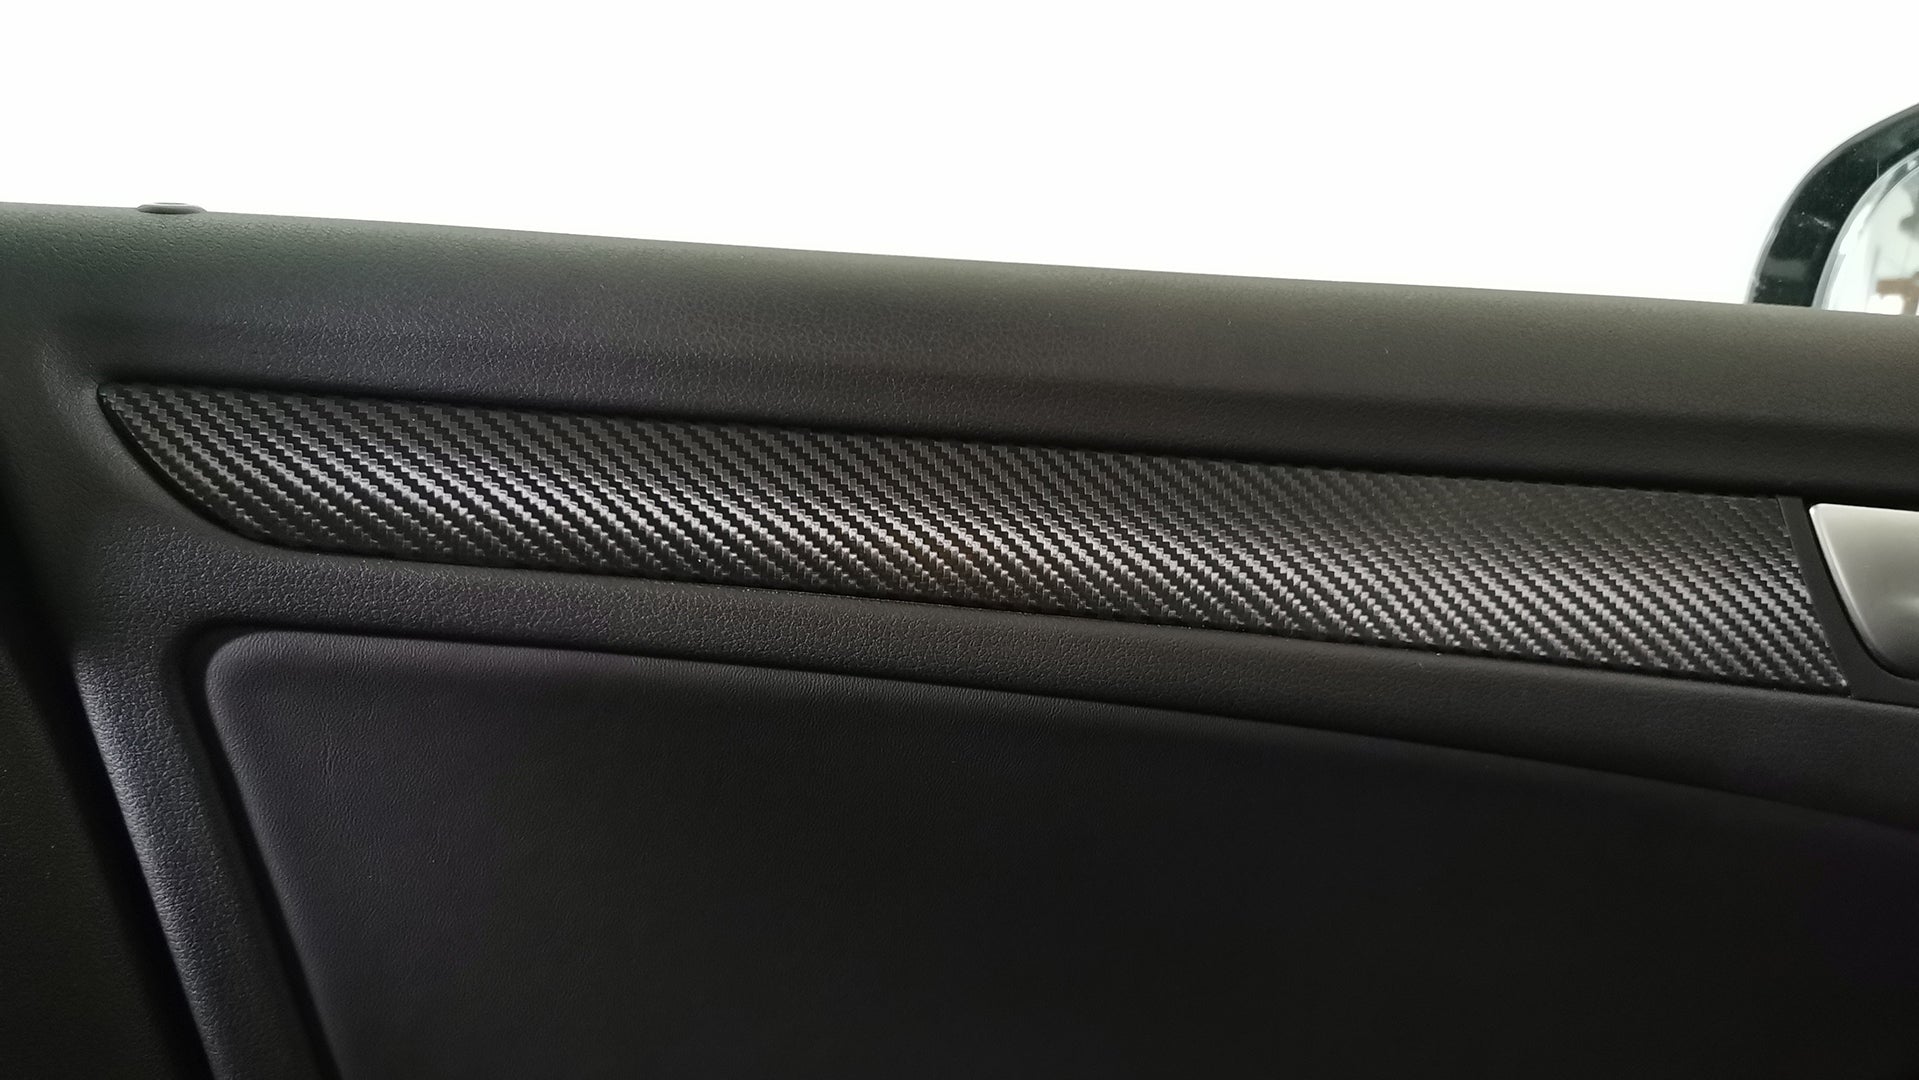
10. Finished!
If you want to know more about interior wrapping, stay tuned! We regularly publish new articles and explain step by step how to achieve your dream interior in the cheapest and easiest way.
Lukas Stark